Gearbox stripdown
by Darren on Feb.24, 2013, under Seat
Aside from wanting to change the Quaife ATB diff for a plate one, there had always been a problem with the Ibiza’s gearbox, and that was that it was very noisy – it sounded like a bag of ball bearings, in fact. The synchro on second gear was always a bit lazy (not helped by my poorly co-ordinated gearchanges on gravel!), so that would probably need replacing too. Now it was actually out, it was time to strip it down – something that I’d done some reading up about, and was a little concerned that there would be some potential problems on the way. Anyway, here it was, ready to come out.

Dirty box!
Stripping the first casing off was straightforward, but behind it was the pair of gears for 5th gear, and this was the potential problem – I’d read a number of horror stories about people chipping the gears, and I really didn’t want to do that; this meant being really careful and modifying my puller to get into the 1.5mm gap behind the gears. Out with the grinder, spent about 10 minutes getting it into shape and while trial-fitting one of the legs, I pushed it in…. and the gear moved! This was really good news as one of the gears came off without any issue at all. The news got even better when the other one came off just as easily. Splendid. Now it was just a case of undoing another 6 bolts for the inner gear pivots and then all the case bolts, and then…

The business end.
… all the insides were revealed. All looking good, and easy enough to strip down further – it looks a very sturdy box, and is far easier to take apart than the Skoda box was. There’s more work to set it up (both shafts and the diff need to be set precisely), but it will be much easier to put back together once that’s done, thankfully. Here are all the bits that had been removed:
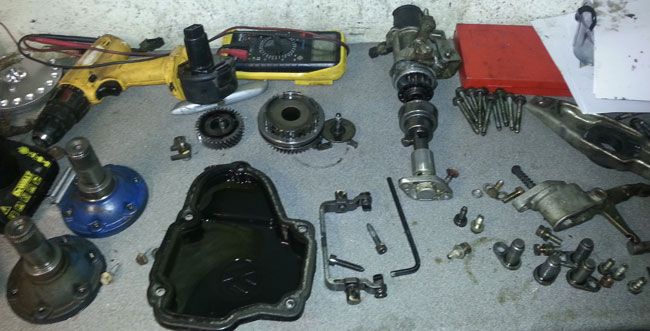
Where do all these bits go?
Driveshaft flanges, casing, 5th gear pair, selector, pivots and clutch actuator. All easy enough. They were bagged up, and then it was time to remove the gears and the diff, leaving me with a box full of bits:
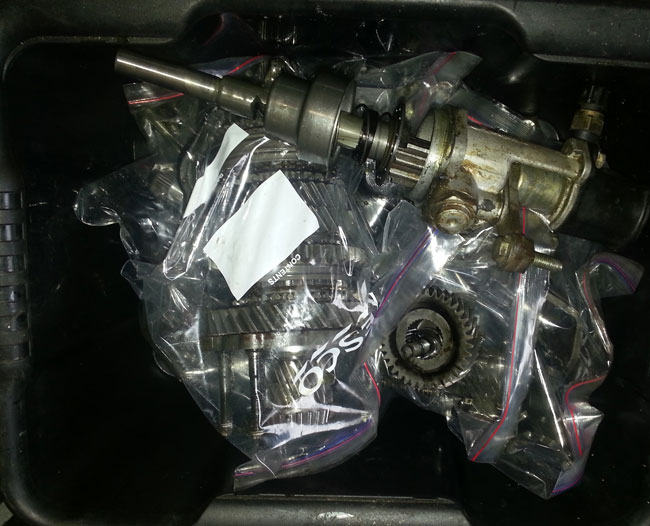
Box of bits. A gear box.
And also the Quaife ATB diff, which I will sell to help fund the purchase of the gripper plate-type diff.
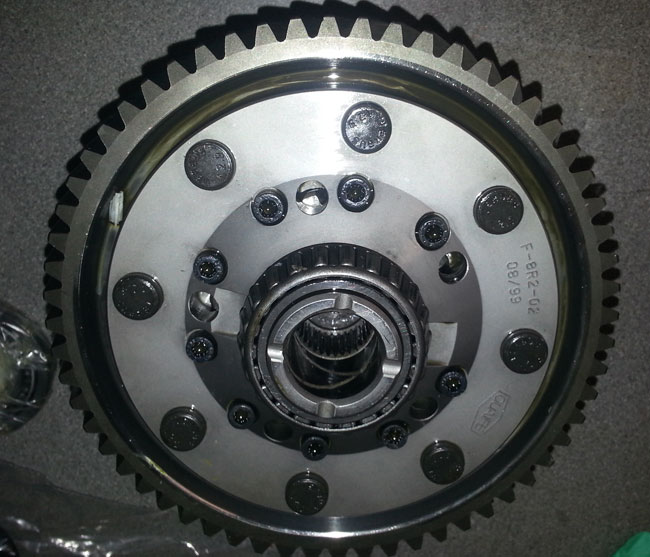
“The postman’s diff”.
Now I had a couple of empty casings, which needed to be cleaned up properly.
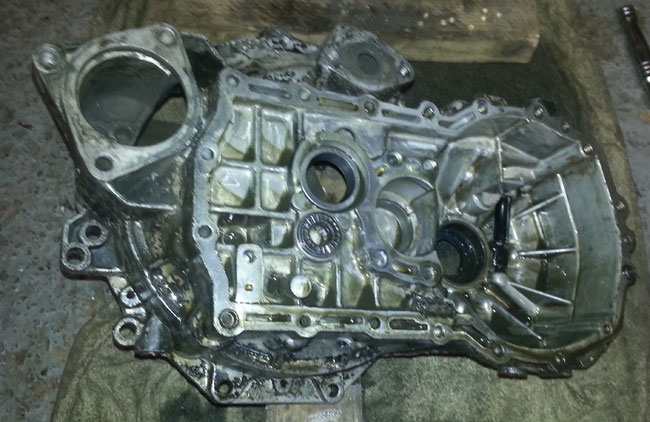
Empty casing of the gearbox.
This is not just for cosmetic reasons although the gearbox was painted at some point, badly and with some terrible paint, so it looked awful. When I did this with the Skoda gearbox, it also had the benefit of making it far more corrosion proof – it didn’t look bad after 3 years of use, so I’ll do the same with the bead blaster. All I needed to do was remove the bearing races, as I have a new kit of bearings to replace the old ones – some of them are unusual, so the 7 bearing kit cost a rather pricey £100:
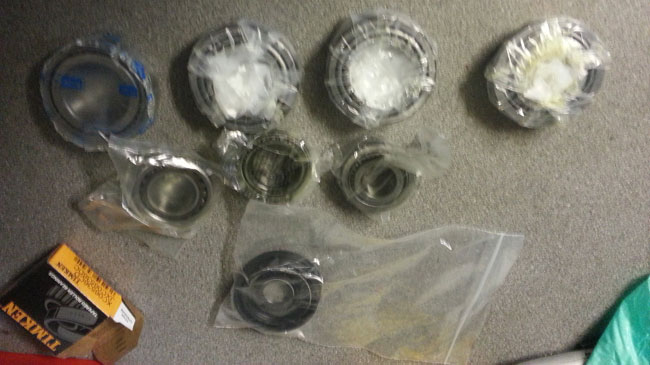
Shiny new bearings.
On removing the bearings, the reason for the noise became apparent – the diff bearings were about as knackered as any I’ve ever seen. I think the diff bearings may not have been set up properly, having too much load on them, leading to this:
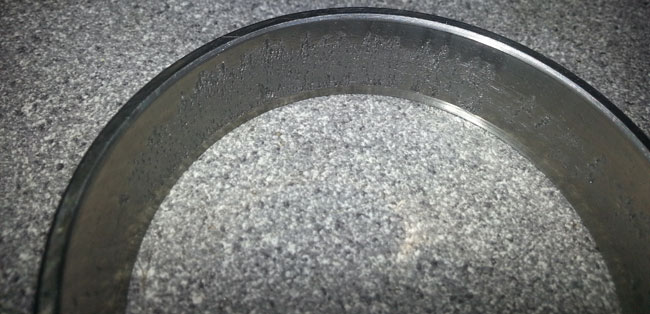
Rough as hell.
That bearing race should be perfectly smooth, and even in the rather poor photo above, you can see it’s anything but – both bearings were badly damaged, and this alone would have made it sound horrendous. This damage was confirmed by looking at the magnet in the gearbox that is there to retain the (inevitable) bits of swarf that are in a gearbox during its lifetime as the parts wear:

There’s a magnet in there…
It was completely covered in the stuff, mostly bits of the bearings that had broken up. Next up was the lengthy task of cleaning up the cases, both inside and out. Lots of cleaning, then bead blasting meant that this:
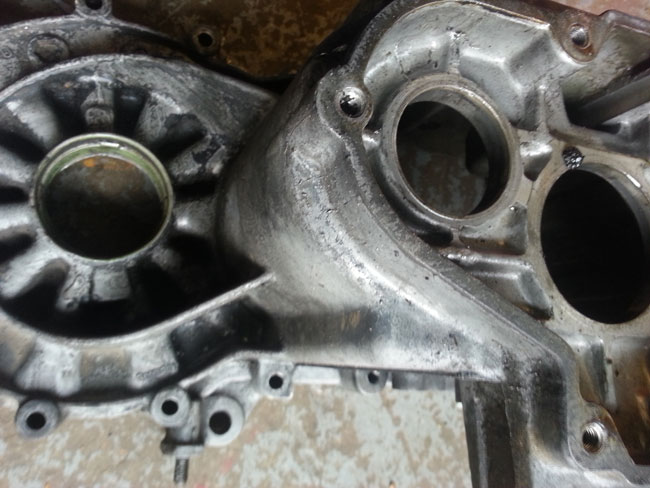
Dodgy old casing
Ended up looking like this:
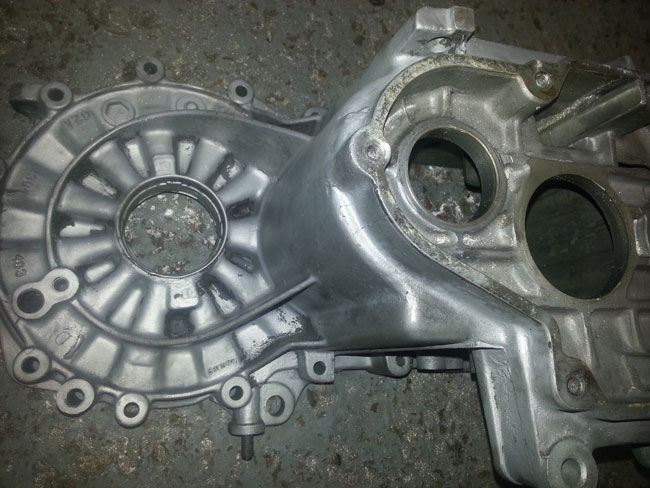
Nice and clean
It’s not perfect as my blasting cabinet is too small to be able to get to everything, but it’s way better than it was before, and also means it could be examined properly for damage, and thankfully none was found.
In other areas, the new (much larger) radiator was fitted today. The fitting really just meant moving the mounting bar down by 60mm, which thankfully didn’t mean any other changes. The radiator slightly obscures the oil cooler, but I will make up a duct to stop the air from the radiator passing by the cooler, and open up some space in the front panel to improve airflow to it. Here it is, fitted:
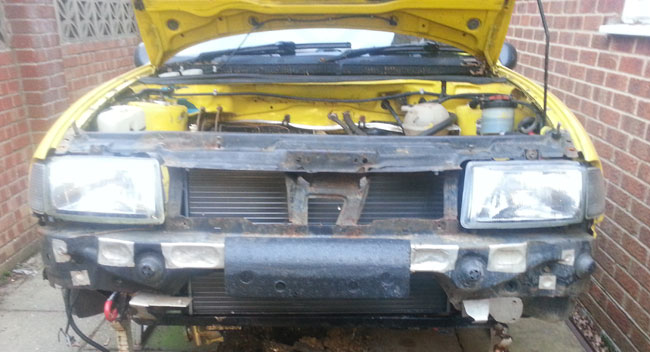
Much bigger radiator!
As you can see, it’s MUCH bigger than the original (about 1.4 times the area), so it should do the trick. A long day’s work, but at least the car is moving in the right direction. I’ll be ordering the LSD this week (no, not the drugs, although the thought has crossed my mind!), and hopefully making some progress with the driveshafts.

